Sorry, we’ve been quite busy over the past couple of weeks with stuff, both house-building and work-related, but I though I’d put up at least something of an update.
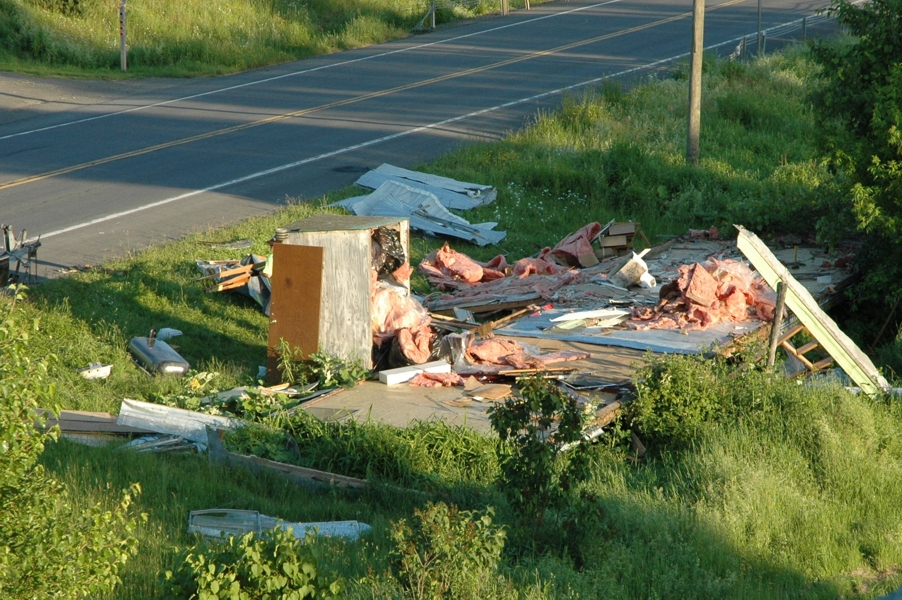
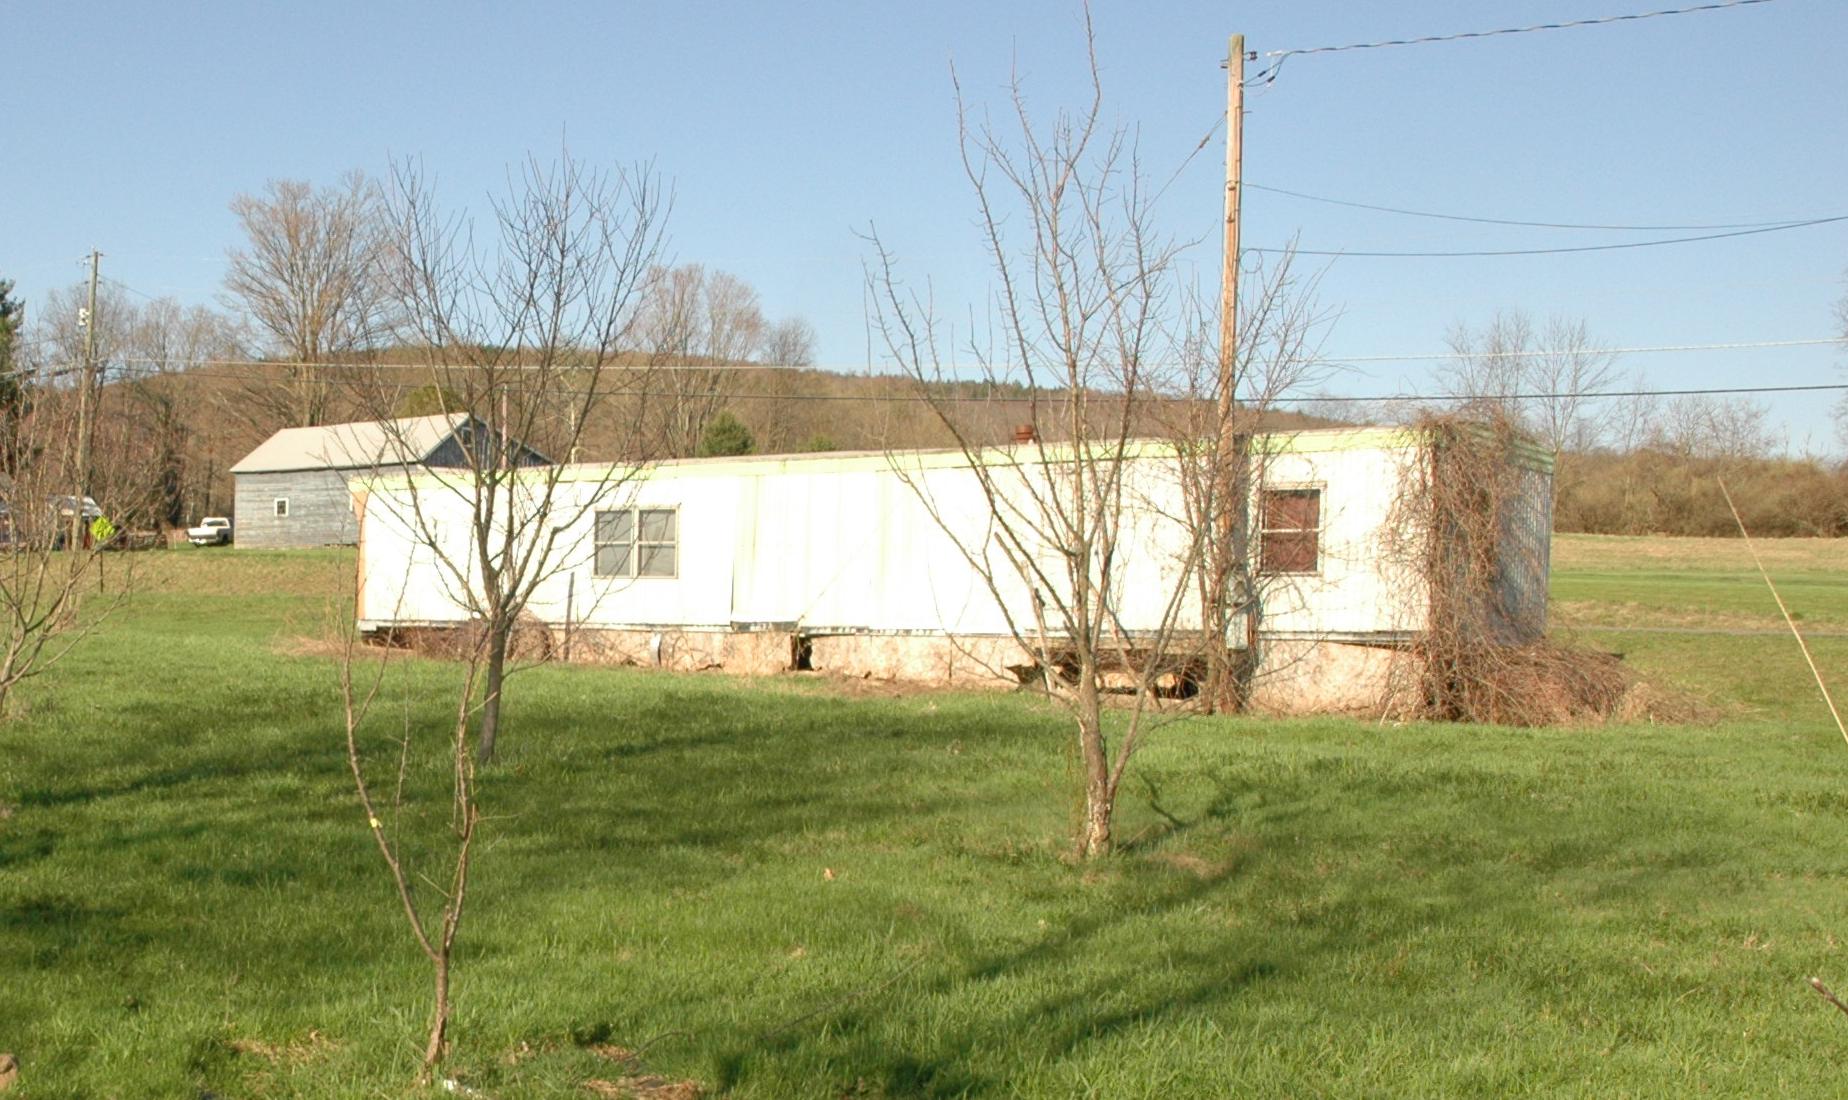
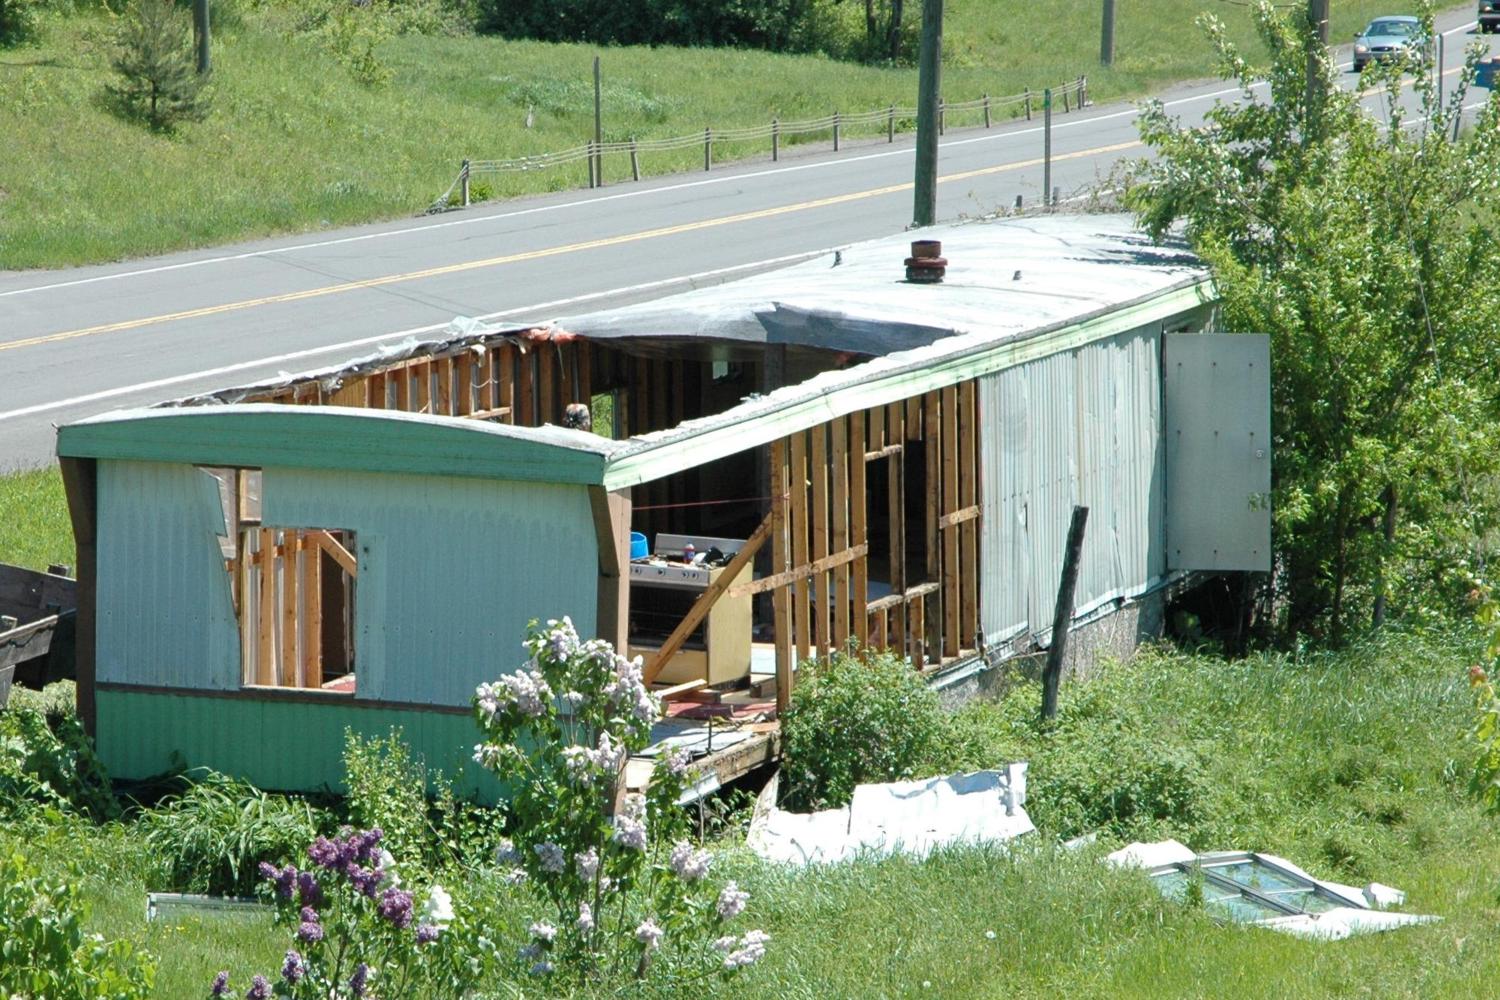
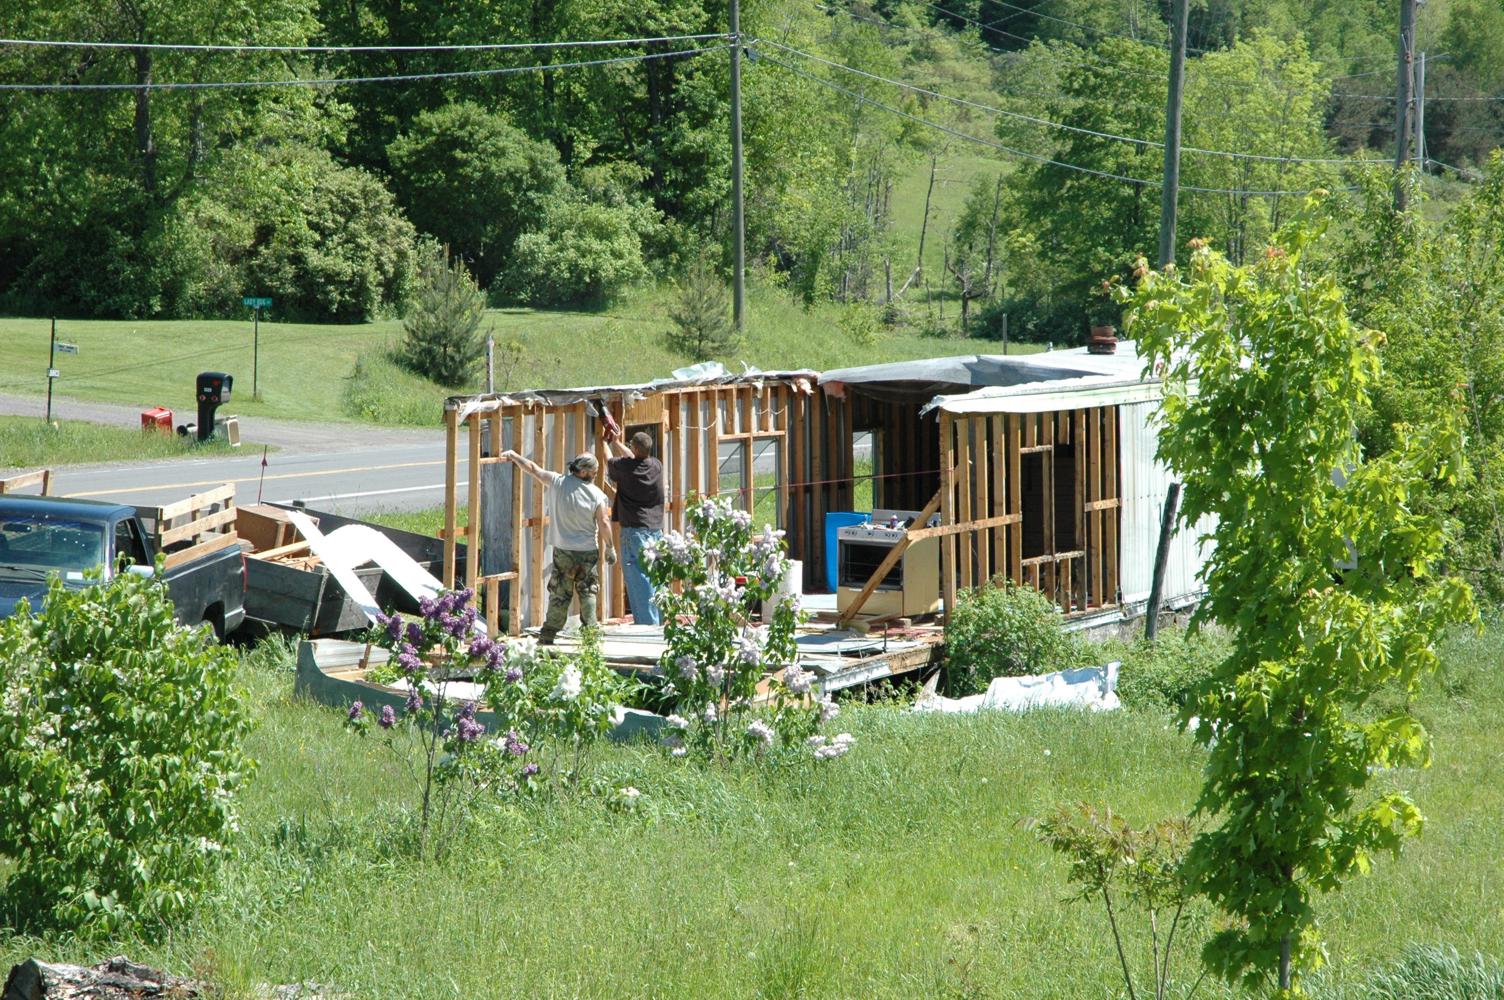
Firstly, we’re rid of the trailer. The good free help we were talking about before went AWOL, so the last push was just us (with help from my brother… you’re awesome, man!) There’s still some trash lying around the site that we’ll get to, but nothing that presents a hazard to navigation or sitework.
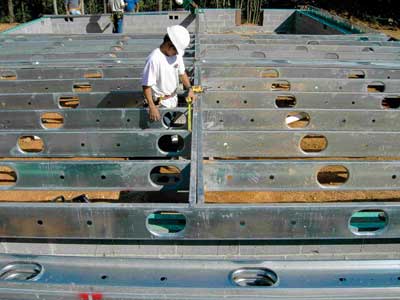
We also had to cut up the steel frame of the trailer using some torches, which was a lot of fun, even in the 95-degree heat. I’m sorry about some of the weird colors in the pictures, but the camera had a really hard time dealing with the direct sunlight and the super-bright light of the torch.
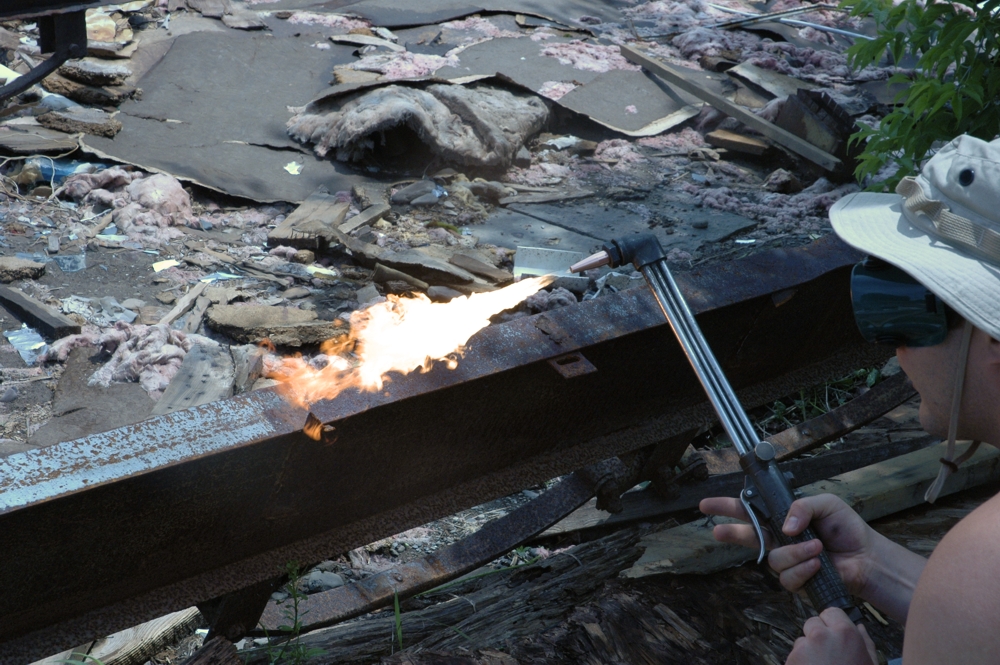
Lighting the torches!
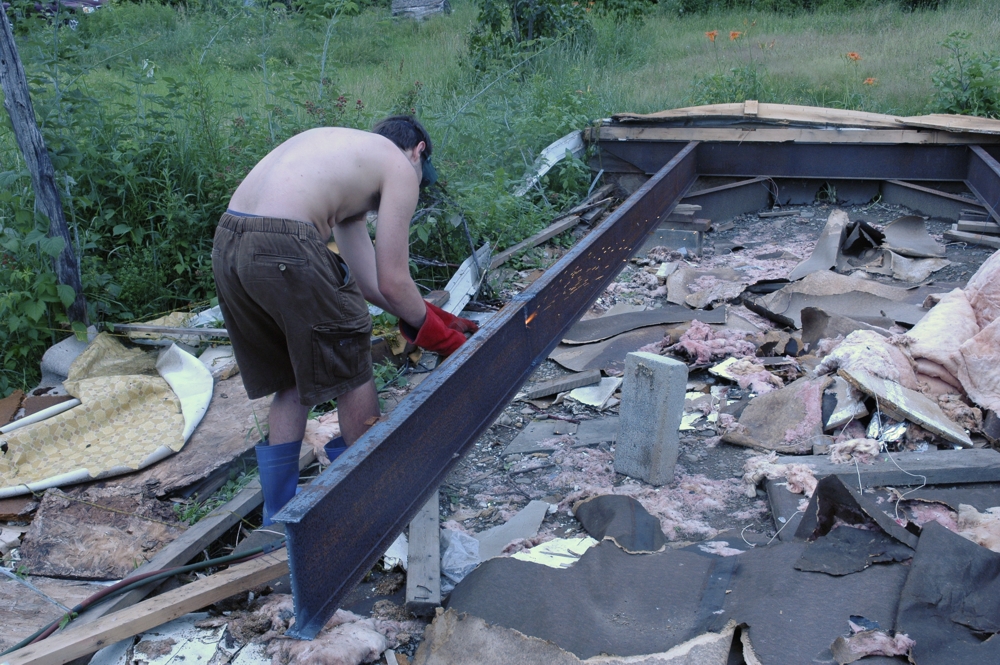
My brother and I started out in shorts and topless. A few minor burns later, we decided to put on some more layers…

Kind of like this. It was very, very warm. I had sweat literally soaking through the fabric of my jeans.
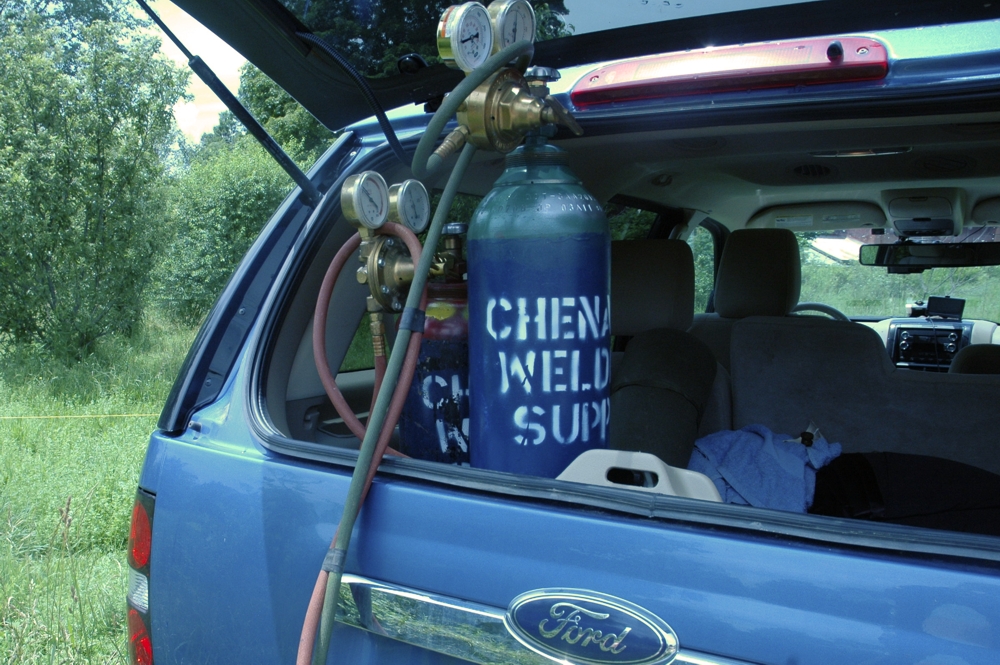
This was our high-tech rig for moving the oxygen and acetylene around the job site.
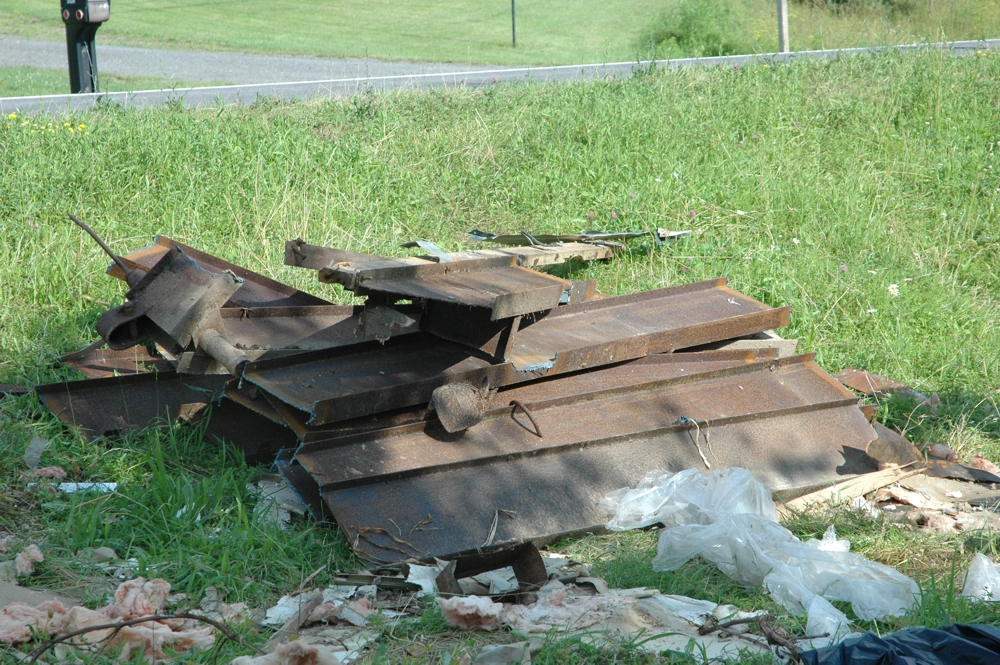
And scrap! We cut to about 6 foot because that’s what we needed to fit in the truck. 4 foot pieces bring more at the scrap yard though.
Torches were very reasonable. We had to put down a deposit of $200 to rent the equipment, and it was about $20 to fill each tank. We had to re-fill the oxygen once, so total was about $60, which was covered by the cost of the scrap with beer money left over.
After that, we picked up trash. I hate fiberglass insulation. It’s itchy.
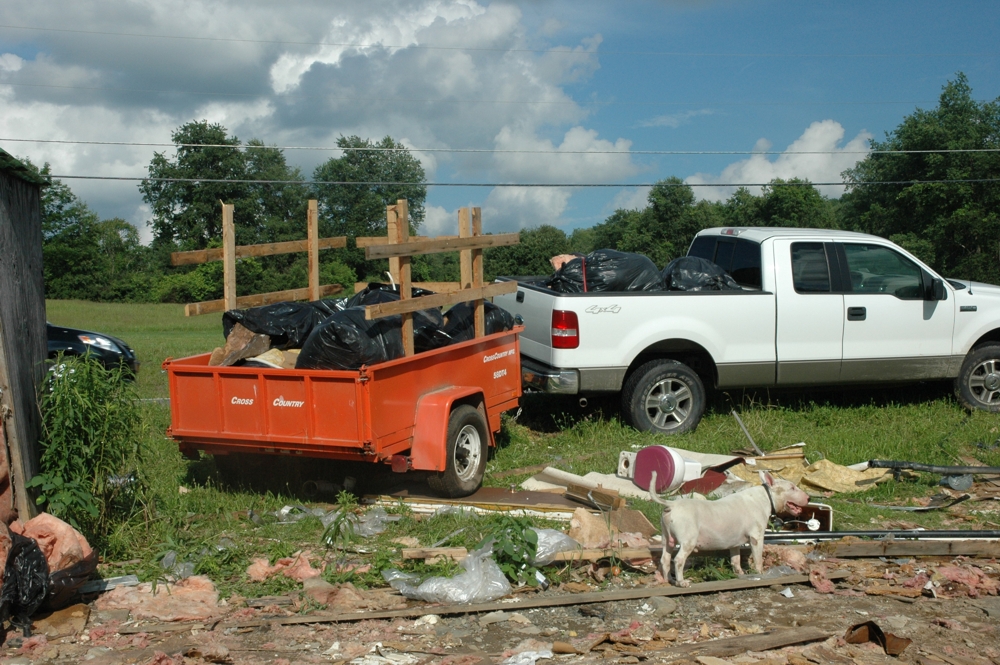
But our puppy-dog Tuna came over to help!
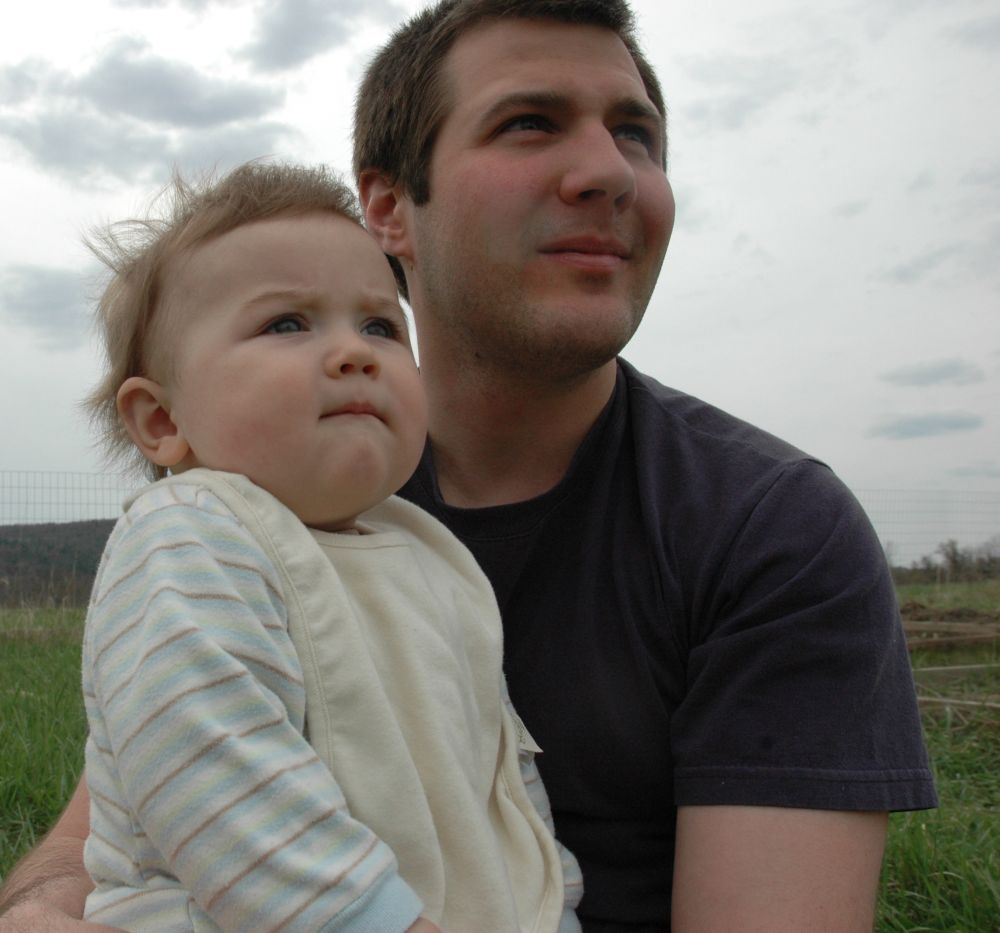
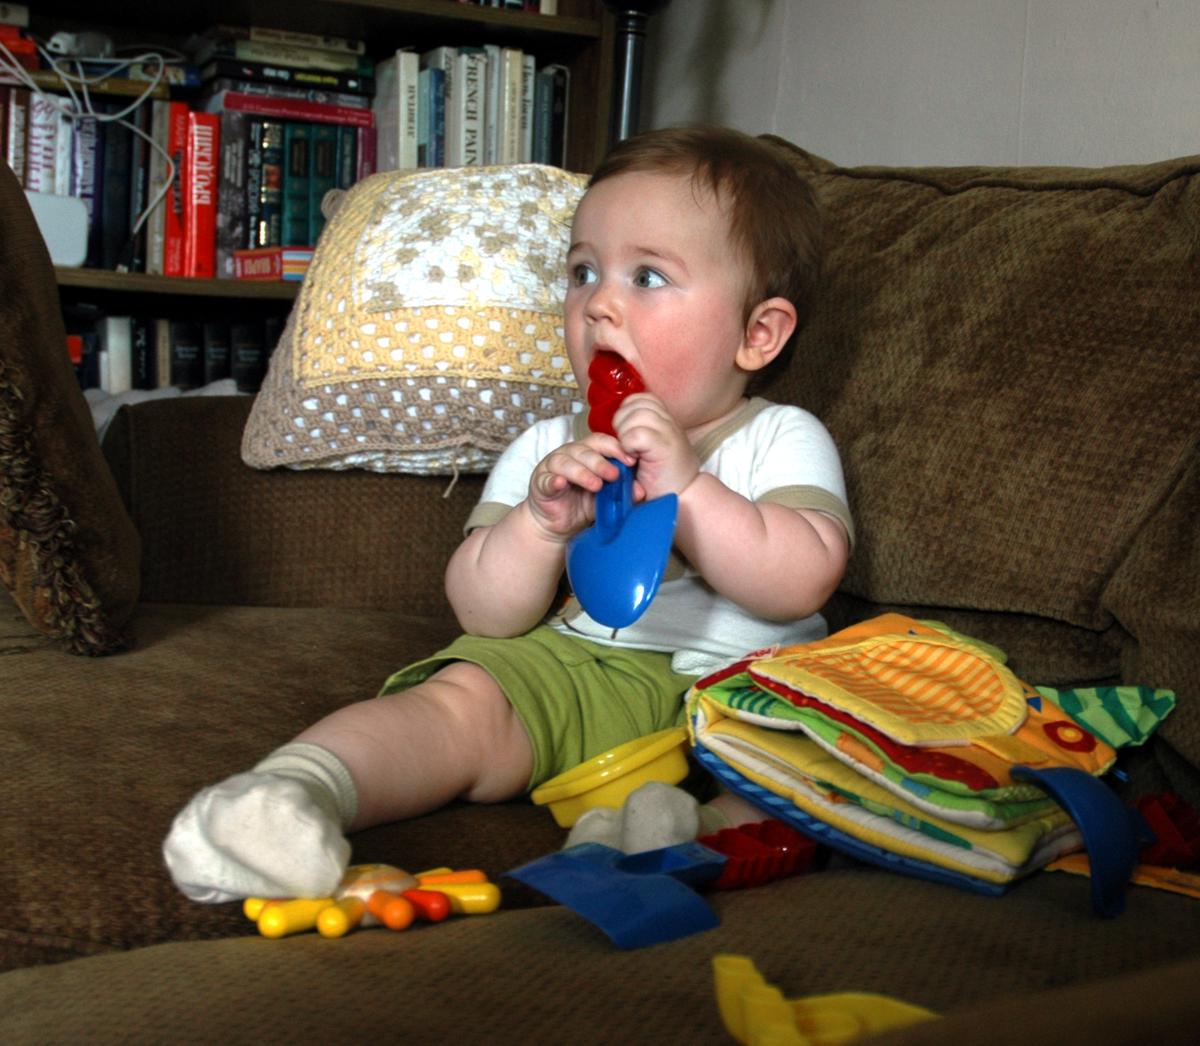
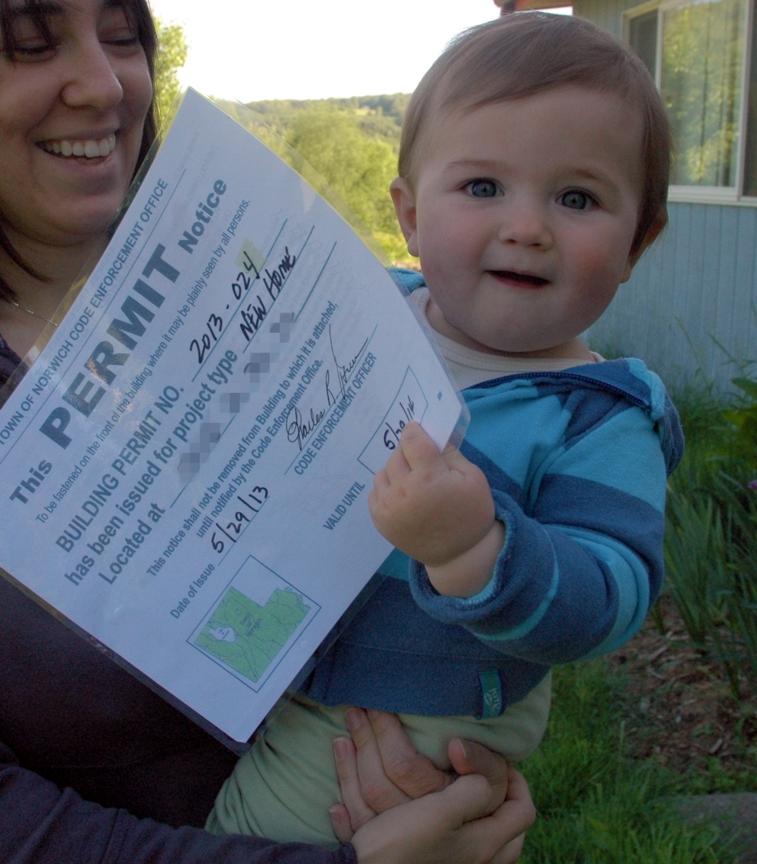
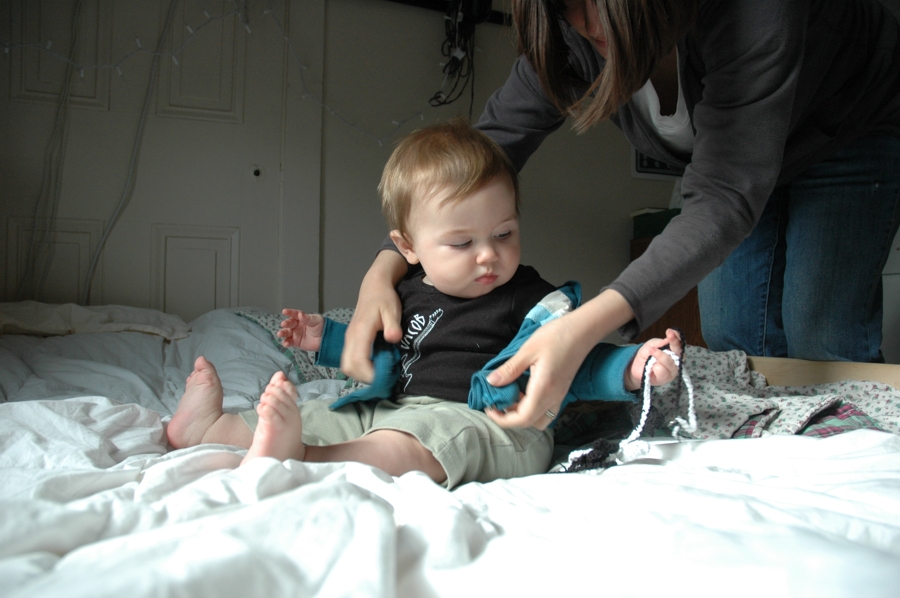
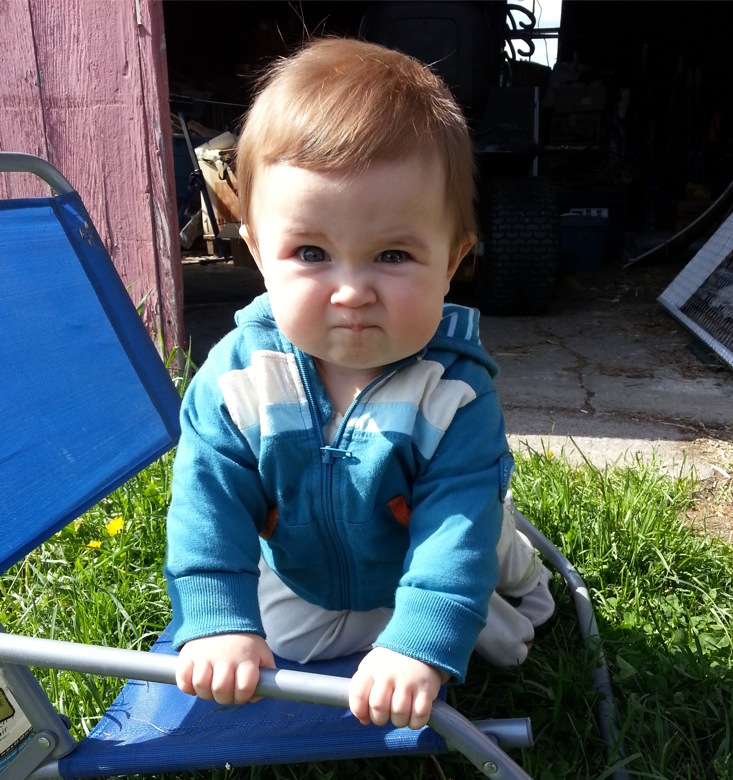
Also, baby turned 1. We jerry-rigged a ball pit for him:
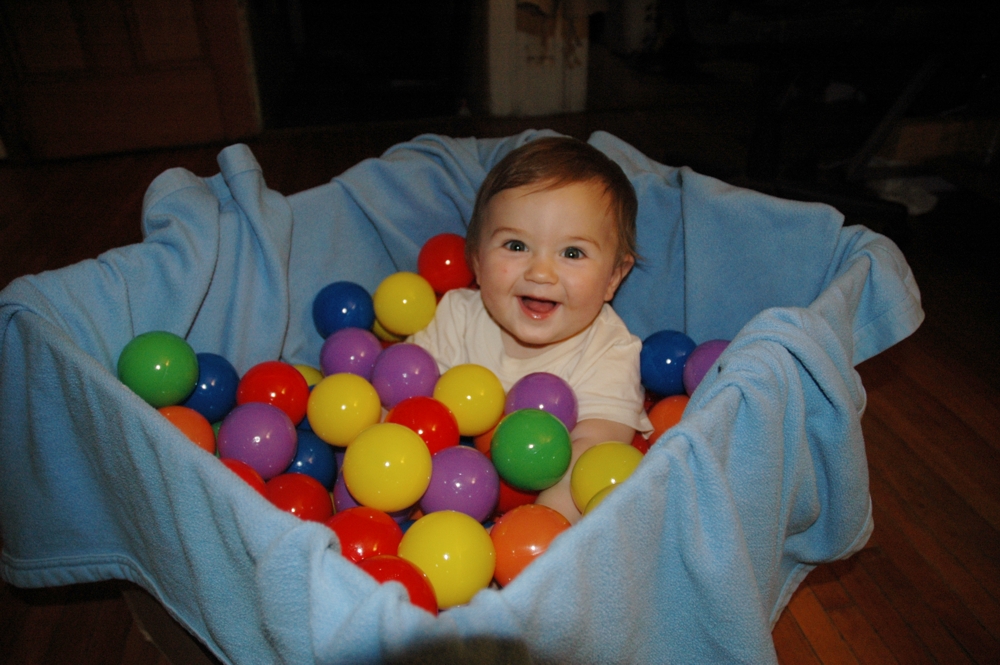
Happy Baby!